Configuring The Hardware
Adding the Libraries
Now that you’ve assembled the hardware, you’ll need to configure it to use in your process.
We will need to connect it to WiFi and set the C8 process variables so that our camera can connect to our process and start jobs.
This is a fairly easy process thanks to the WiFiManager library that we will be using.
The first step is to open the Arduino IDE and open the CandyCam sketch.
We will need to install the proper board support package for the ESP32-CAM board. For this exercise we will be using ESP32 Arduino 2.0.3-RC1 which is the most recent release.
To install this release, go to the Ardunio IDE and open the Preferences menu.
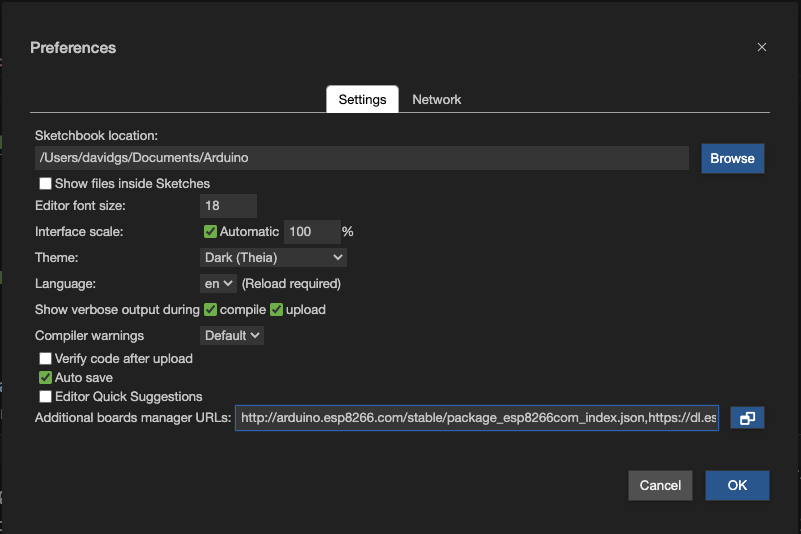
In the ‘Additional Board Managers URL’ field past the following:
https://raw.githubusercontent.com/espressif/arduino-esp32/gh-pages/package_esp32_dev_index.json
and click ‘OK`.
Next, go to the Boards Manager menu and search for ESP32. You should see the option
to install esp32 by espressif systems and the version should be 2.0.3-RC1. Click
Install.
Now it’s time to install the required libraries. These are all included in the Libraries
directory as zip files so you can go to the Arduino IDE and open the Libraries menu
and click Install Library from Zip.
Once all of these libraries are installed, you can open the CandyCam sketch. All you should need
to do at this point is plug your ESP32-CAM into the USB port on your laptop and click upload to
load the sketch to your device.