Camunda Platform 8
Camunda Platform 8 (C8) account
The first step, of course, is to Sign up for an account.
This is a free trial account which will give you 30-days to try out Camunda Platform 8. You can use this account to create and deploy processes. It is the account you’ll be using throughout this lab.
Once you’ve clicked on the link above, you will out the form to create your account:

Once you’ve signed up, you will be sent a confirmation email with a link to activate your account. Clicking on the link in that email will take you to the login screen where you will enter the email address and password you created in the first step.

Once logged in, you will see your Console page. This is where you will see your account information and the processes you have deployed. So far, you won’t have any clusters or processes, so let’s go ahead and create one.
Under the Clusters area, you will see that you have 0 Clusters, and a link to View All which
will take you to the page where you can create a new cluster. Click on the Create New Cluster
button. You can name your cluster whatever you want, but it should be unique.

Finally, click on the Create button. You should be directed back to the Clusters page where you
will see your cluster being created.
This process can take several minutes as the cluster is provisioned in the cloud and the cluster is configured and started.

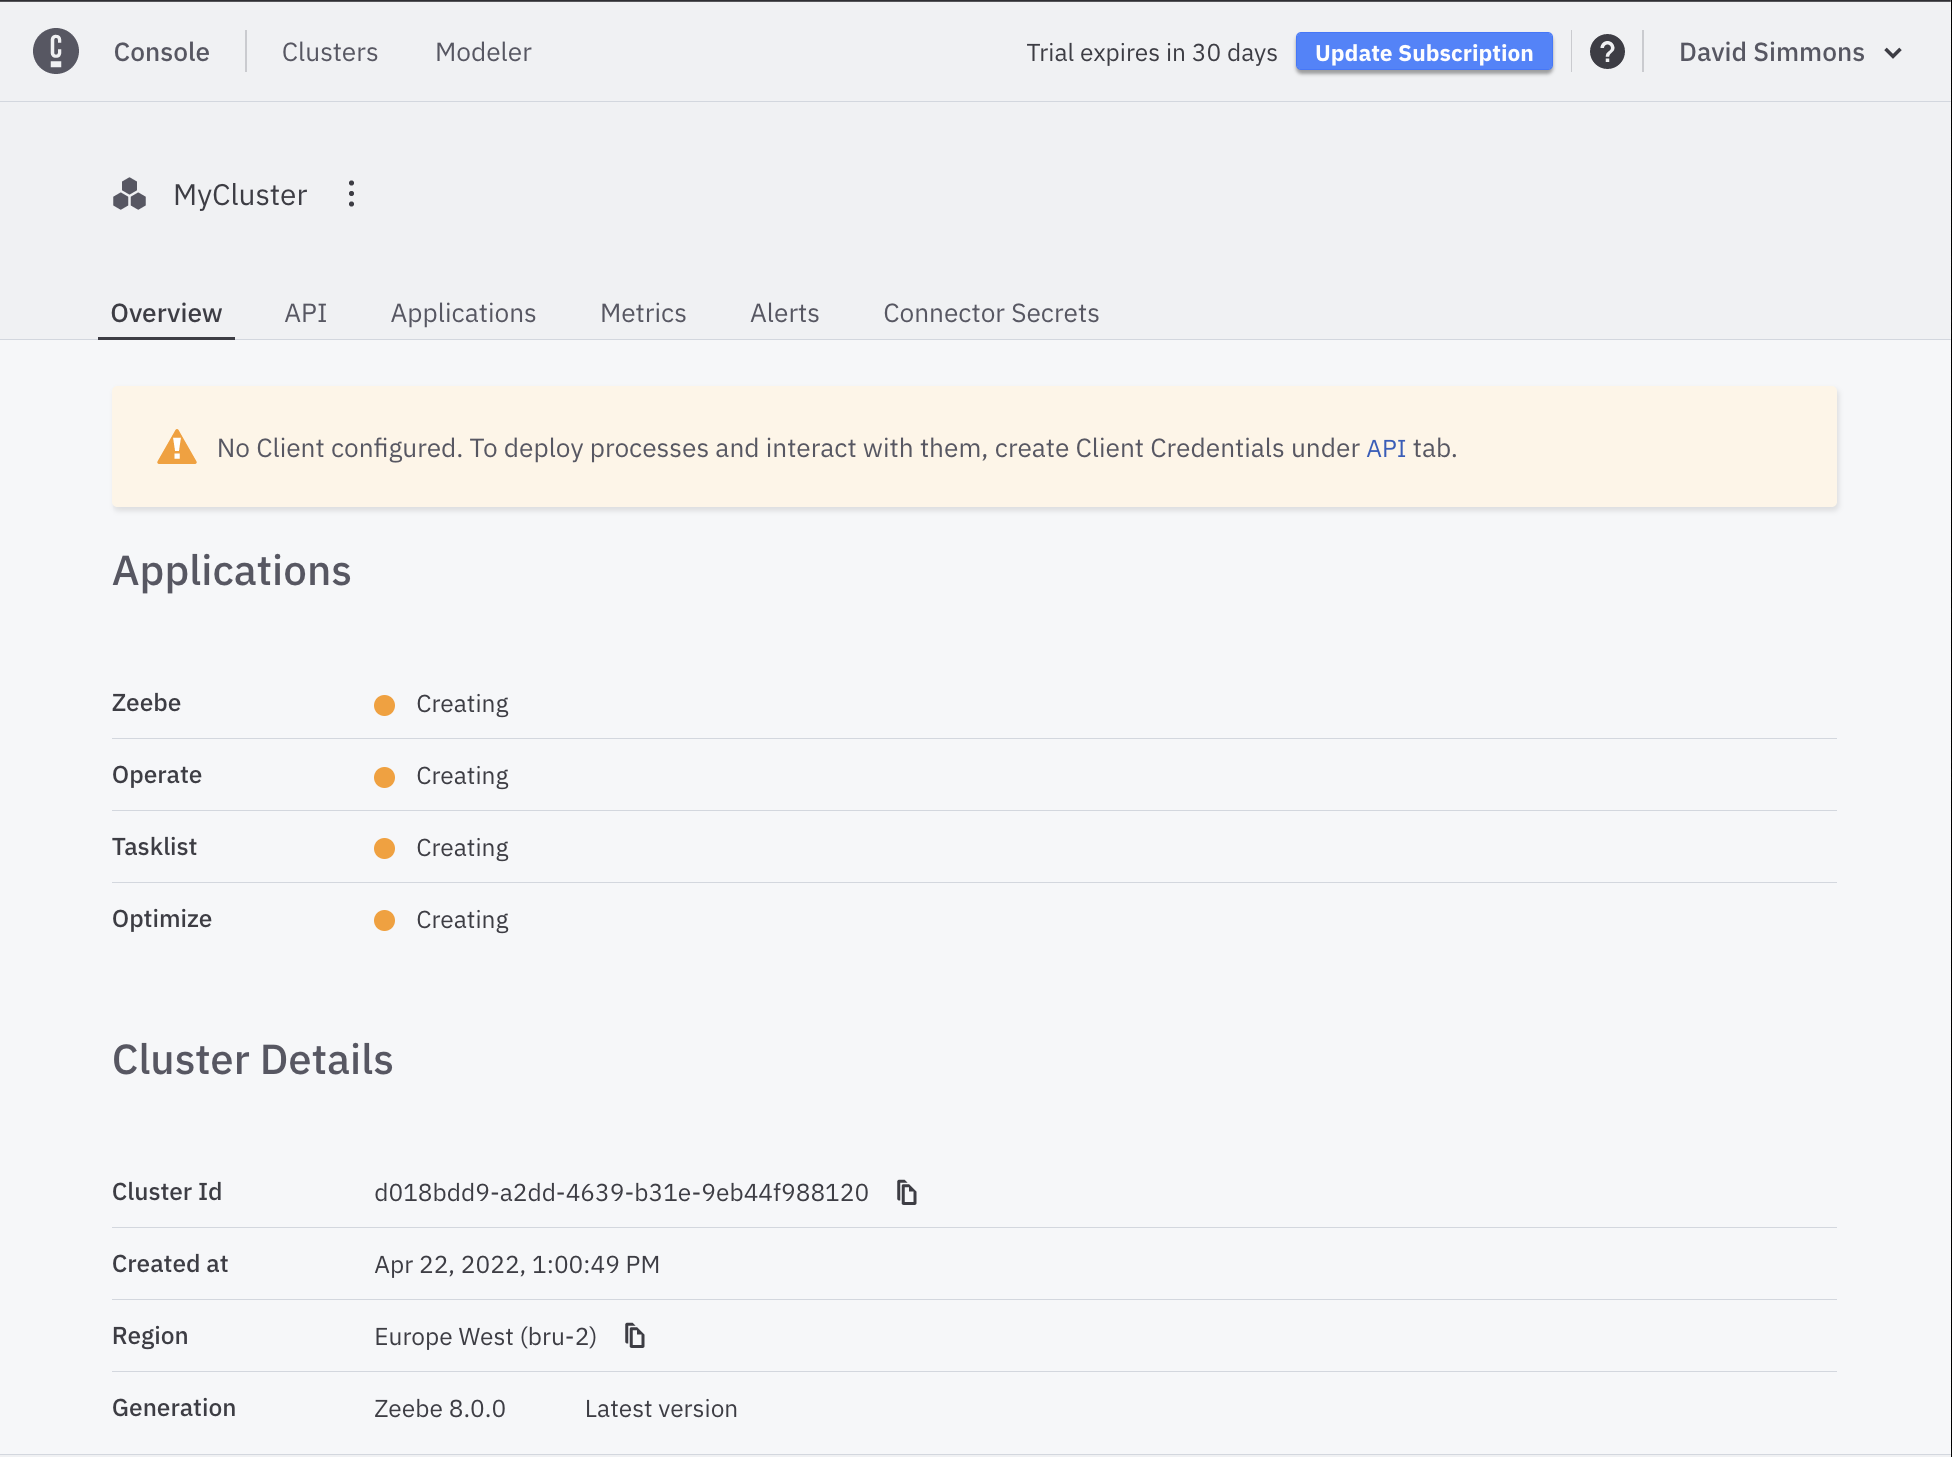
If you click on the cluster while it is being created, you will see more details about the cluster, and you will be able to create the Client Credentials that you will need to connect to the cluster.

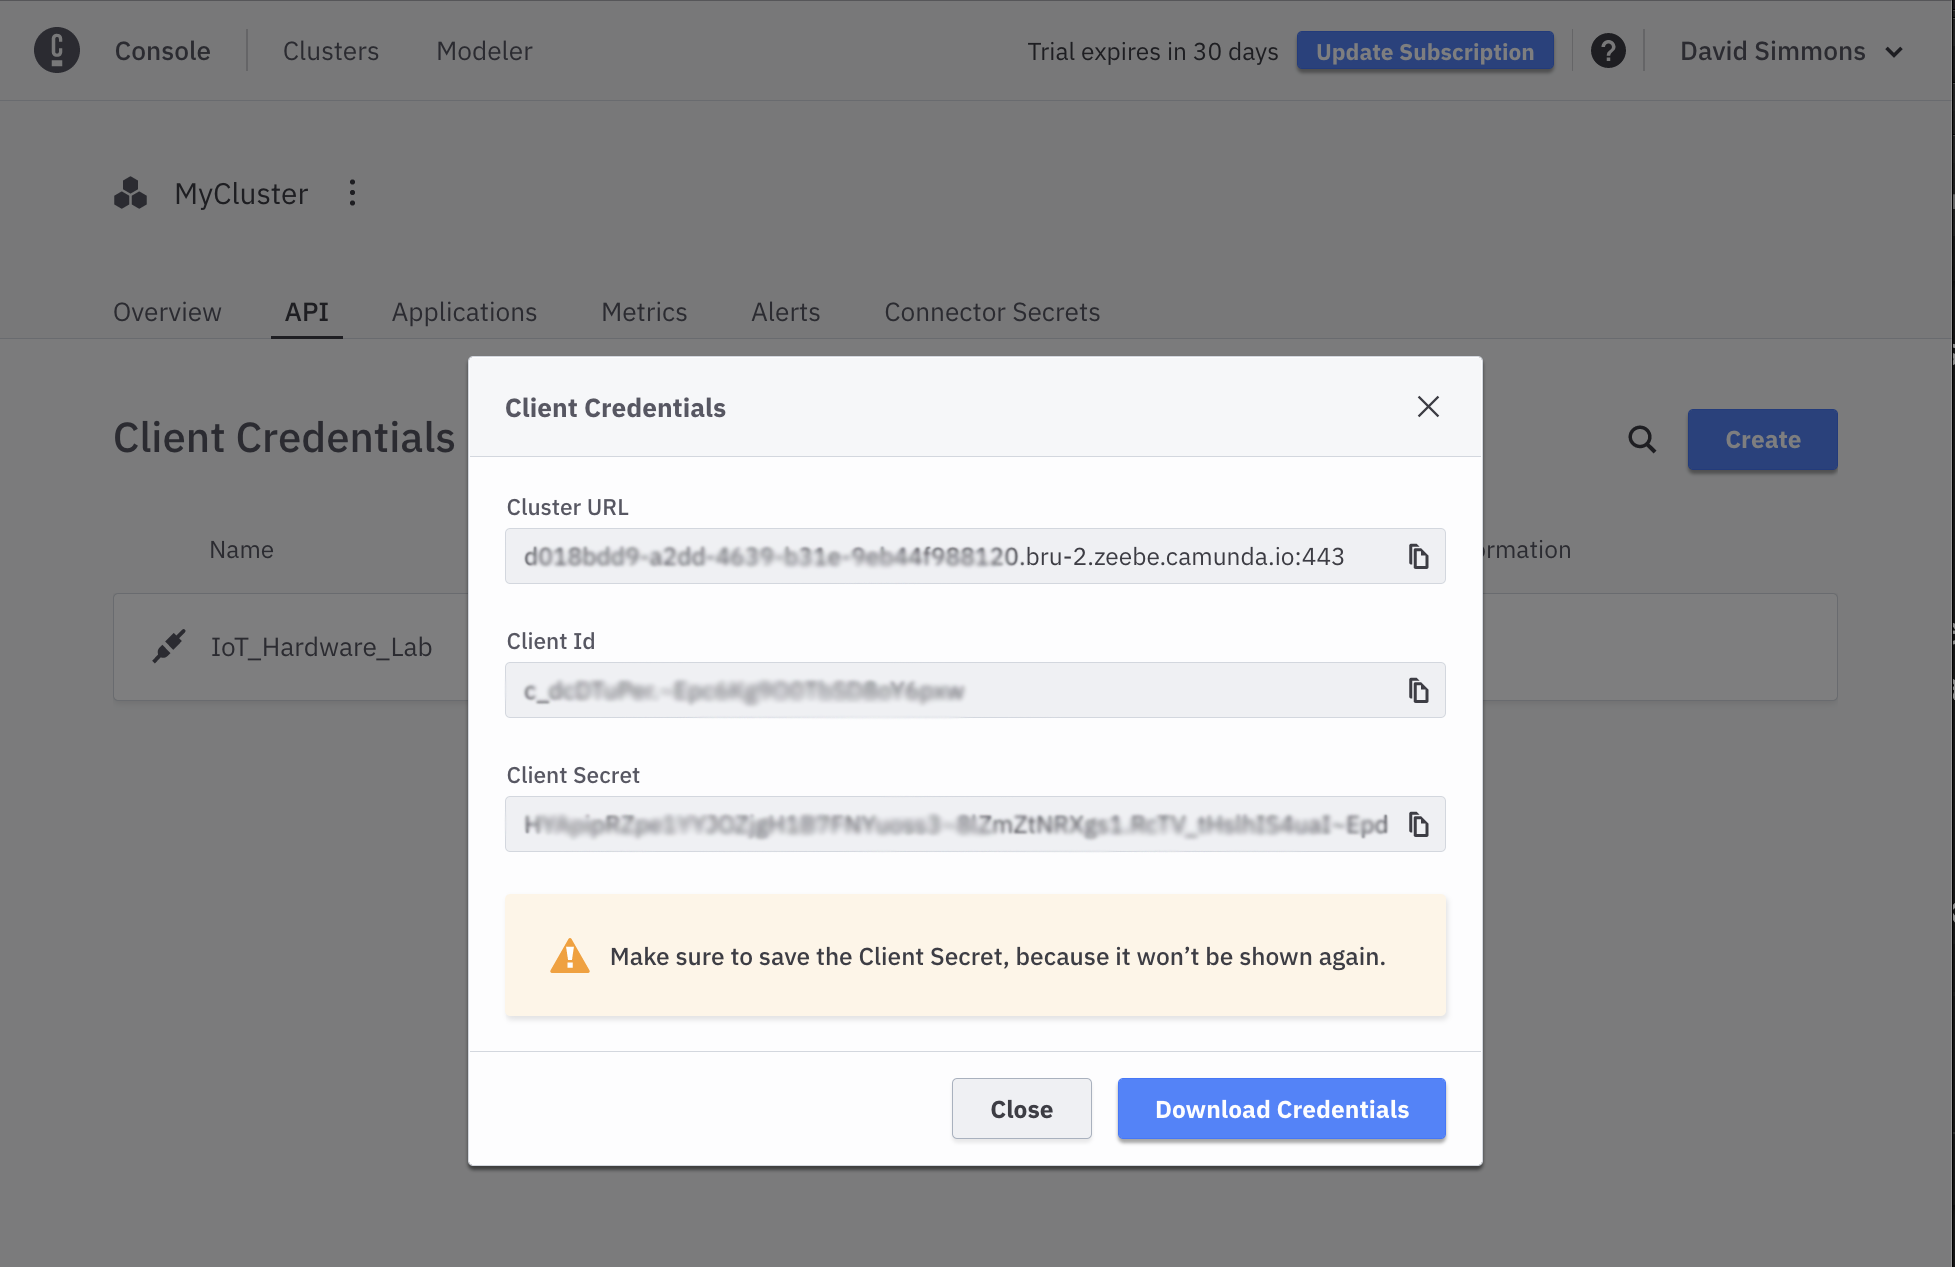
You should click on the API tab, and then click the Create button in order to
create your credentials. You can name your credentials whatever you want, but it should be unique.
You will then be presented with a screen listing your credentials. Click the
Download Credentials button to save the credentials to your computer.

Important: You will need these credentials for the rest of the exercises, and you will
not be able to see your Client Secret again after you download them.
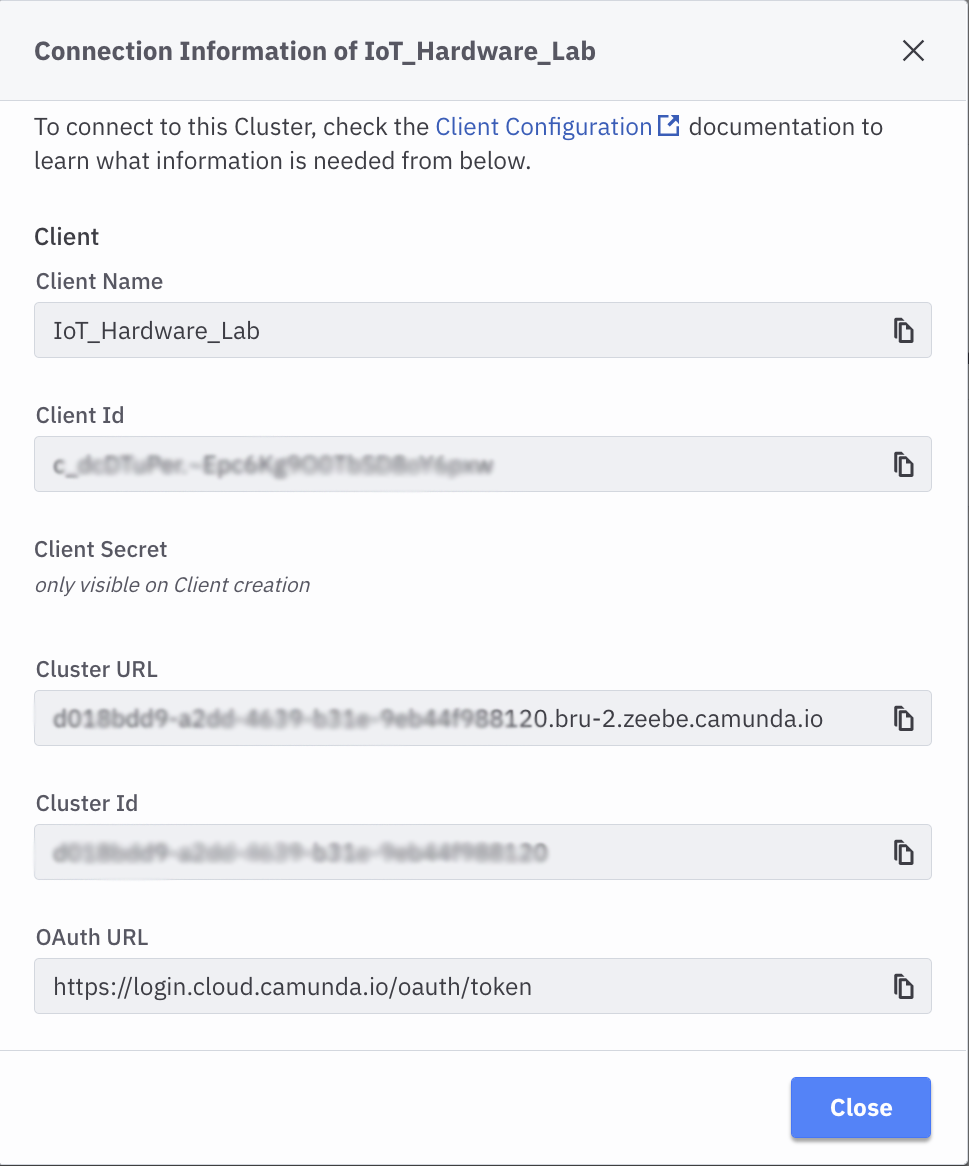
You can view the rest of your credentials in the View tab, but your CLient Secret
will not be visible.

Once your credentials are created and your cluster has finished being provisioned, your Console page will show you the cluster you created, along with links to the Modeler, the Task List, Operate (where running tasks are shown), and Optimize where you can create reports, etc. for your cluster.
At this point your cluster is ready to use!