
David G. Simmons
Tuesday, July 25, 2017
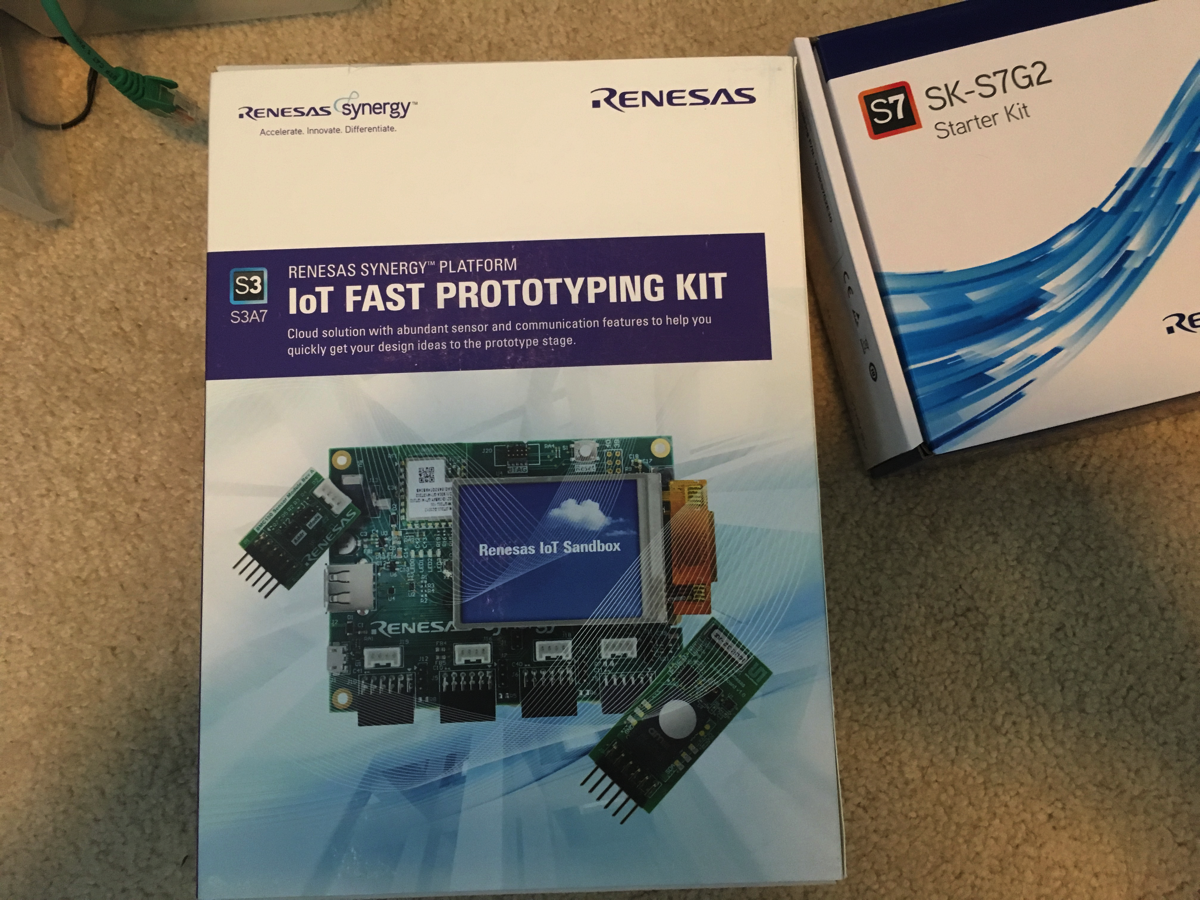
Getting Started with the Renesas IoT Fast Prototyping Kit
I’ve been meaning to get to this for a couple of weeks, and have been waylaid by a bunch of other things that kept popping up, but I’ve been working away with these, and thought I’d post at least an initial post about these kits. Renesas was kind enough to give me both theS3 IoT Fast Prototyping Kit and the S7 Starter Kit, both of which are really really nice boards for doing IoT prototyping. I’ll start with the S3 IoT FPT (Fast Prototyping Kit). First, of course, is the unboxing!
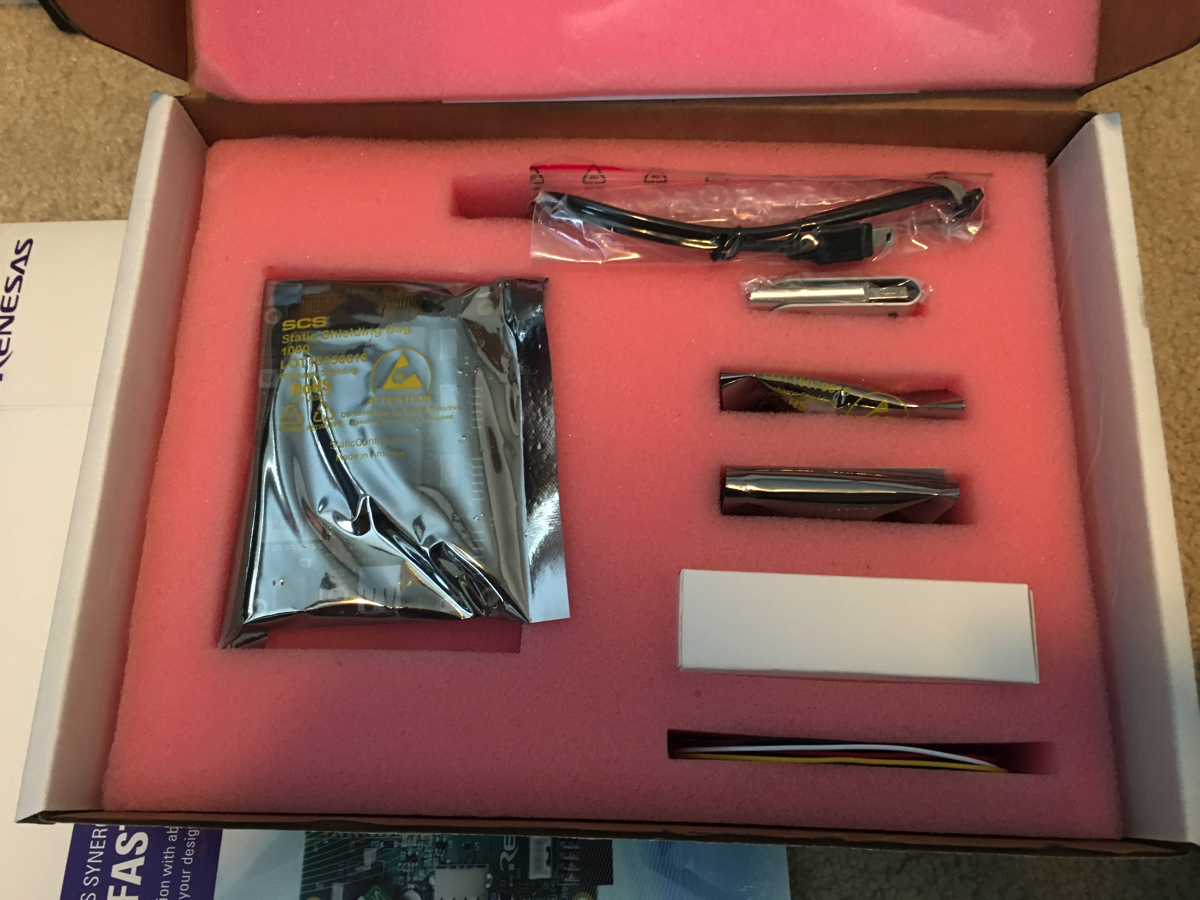
And what’s in the box:
And what’s in the bags:

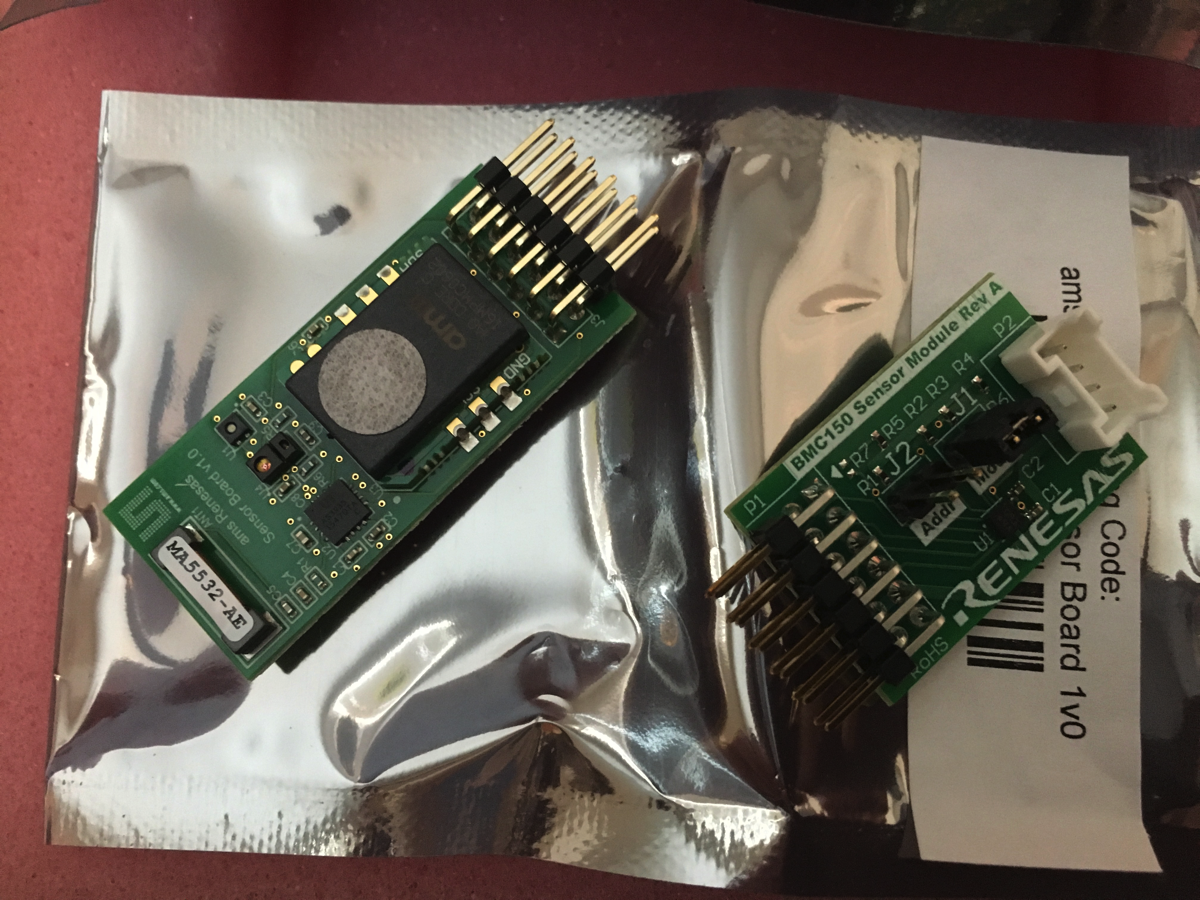
Next, a quick rundown of what’s on the board/in the box:
- Renesas S3A7 MCU board
- New Haven 2.4" Touch-screen display
- AMS Environmental Sensor Module
- Temperature
- Humidity
- Air Quality
- Proximity
- Lighting
- Bosch Motion Sensor Module
- Accelerometer
- eCompass
- Magnetometer
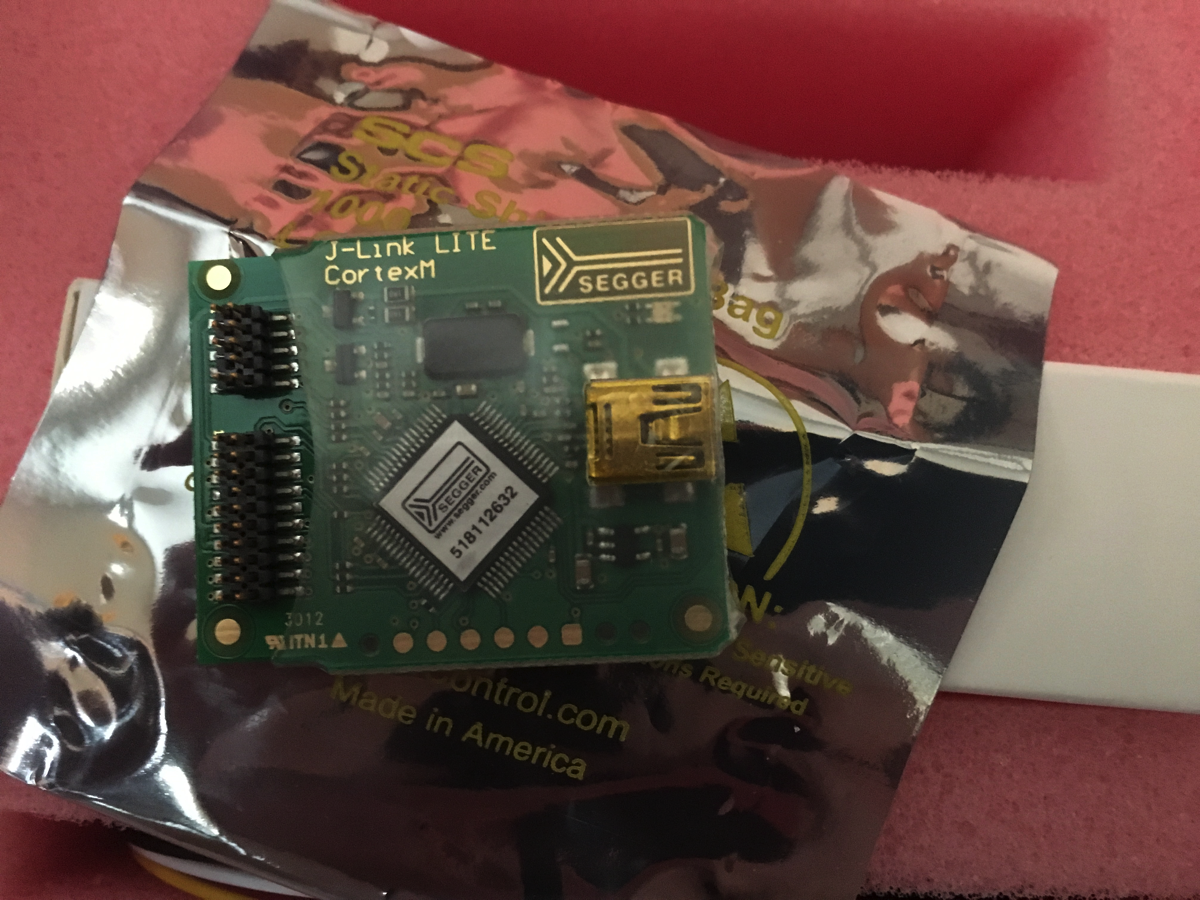
Plus a bunch of other stuff on-board like SPI, Fast for graphics images, etc. and a neat iOS app for demos. I really appreciate that little Segger J-Link board as well. Not that I don’t have a small and growing collection of JTAG programmers, but it’s always nice to have another option!
Running the Demo
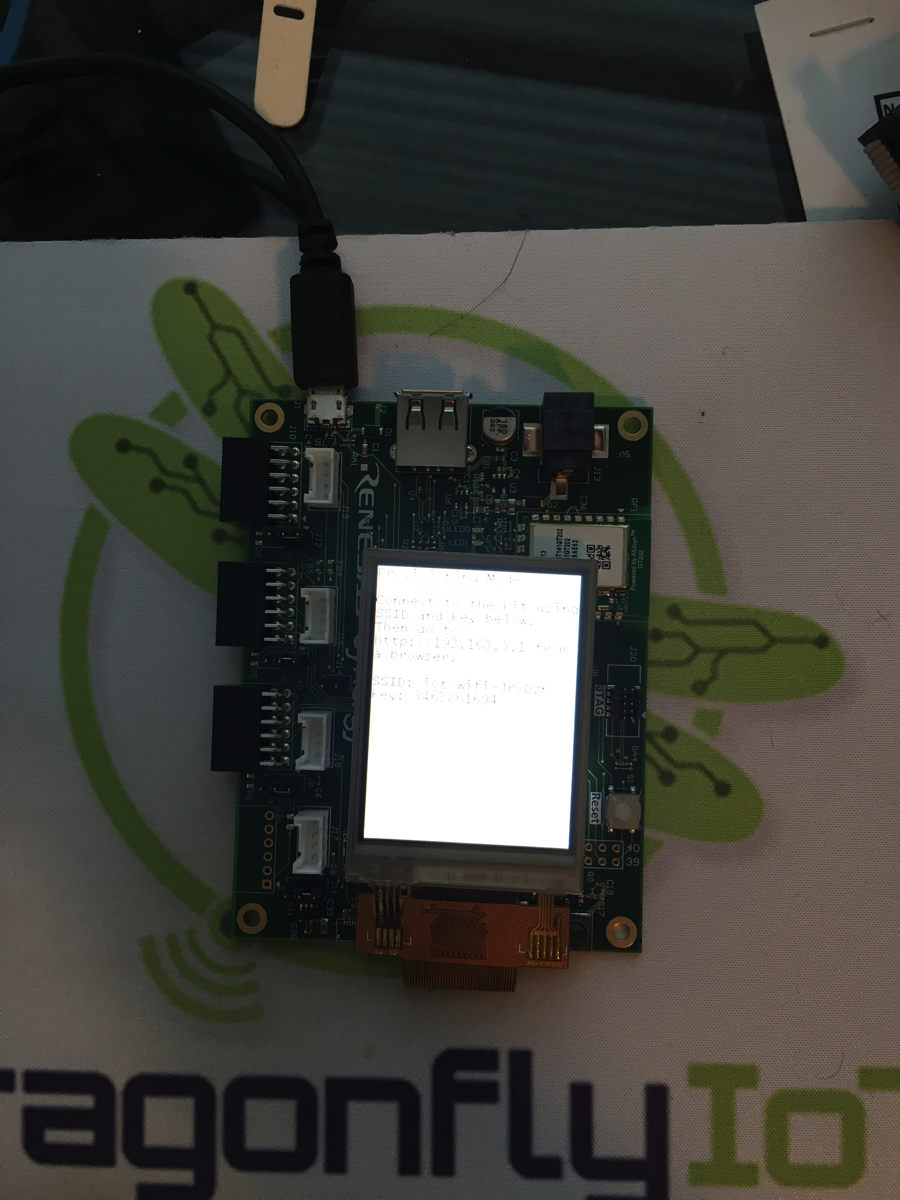
The board comes with an installed demo, so I decided to run it. It’s called the Chef Demo and since that tutorial is fairly complete and easy to follow, I won’t recreate it here. Just go through the simple setup instructions on the Demo and the touch screen:
and you’ll be fine. Once you have the board configured, you can login to the Dashboard on the Renesas site (actually, it’s powered by my old friends at Bug Labs! Hi guys!!) Once setup and running, I had a nice dashboard running with the output of the sensor data:
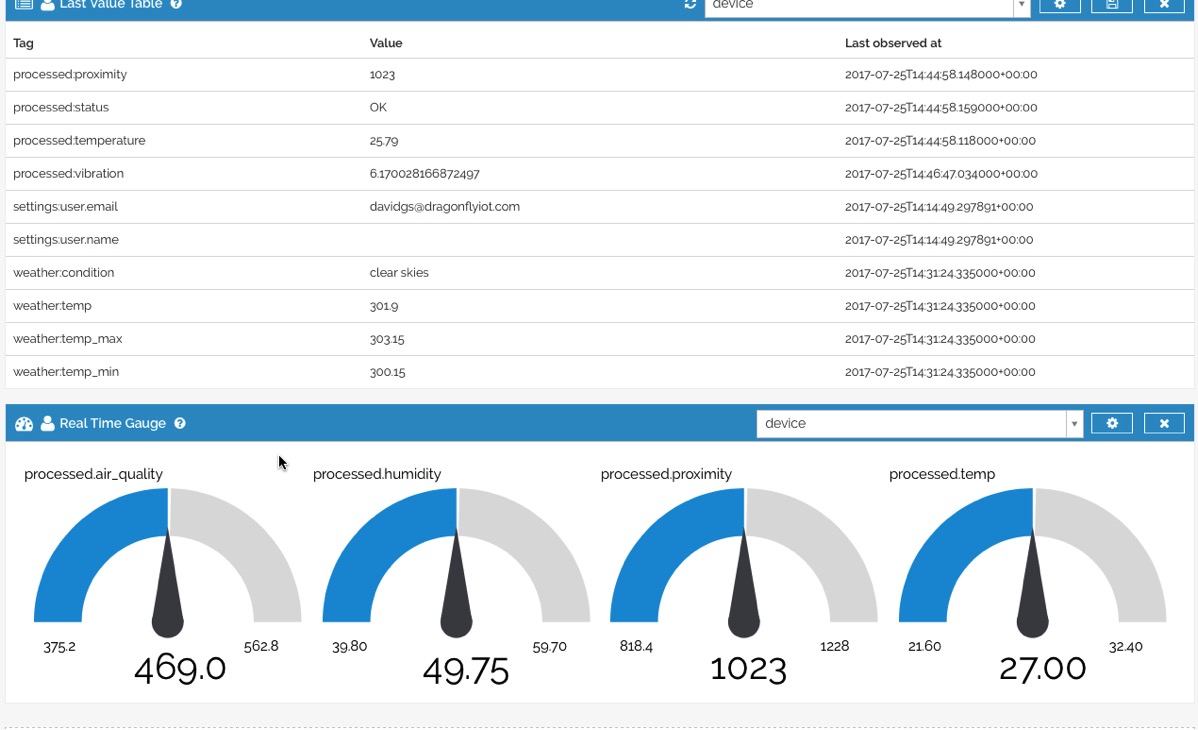
That’s really nice! Next up on that front is to redirect the output of the sensor readings to my InfluxDB Dashboard.
There’s also a nice workflow editor as part of the dashboard that looks an awful lot like NODE-RED to me.
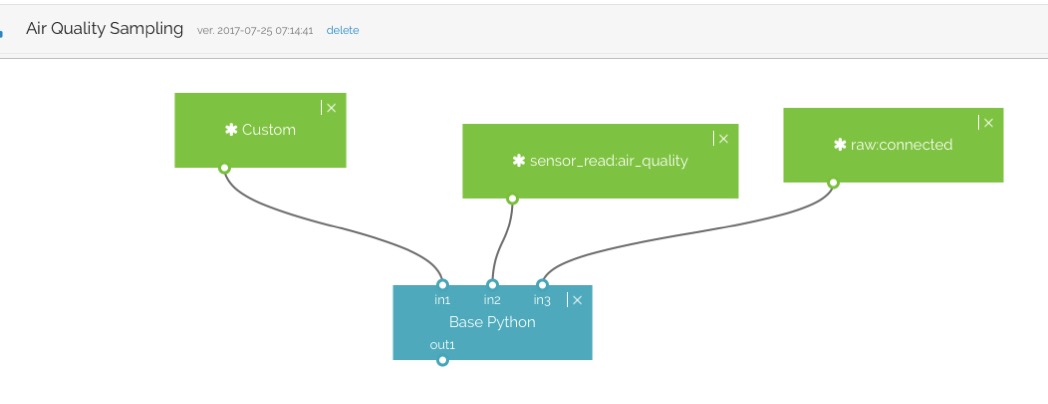
I’m looking forward to digging into that a bit deeper and re0directing the output.
Developing on the Board
A word of warning for those of you out there (like me) that are Mac-heads: You must have a Windows VM under which to run this stuff. The Renesas Studio (which is a variant of Eclipse) only runs on Windows. This did complicate things for me a bit since my Windows VM is a bit of a mess right now, but it’s still worth it.
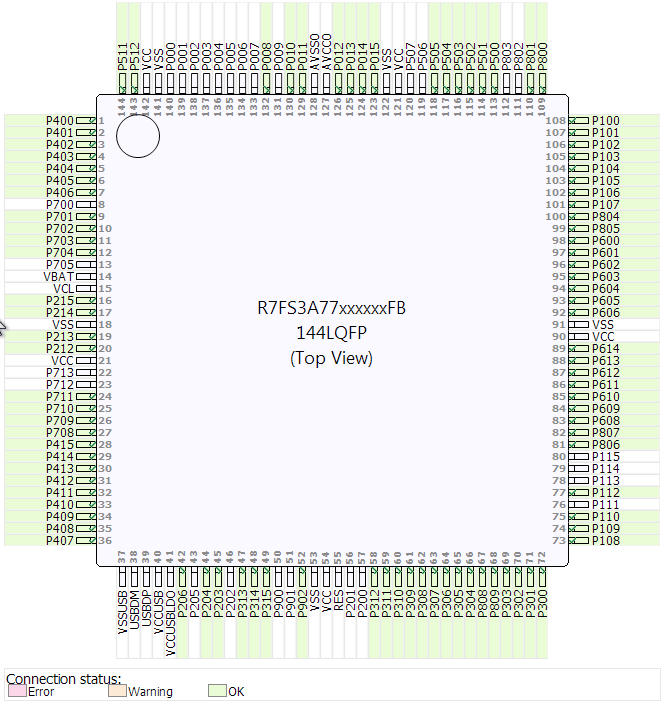
One of the nicest things I noticed right away was the ability to do some really nice board-level customizations right in the tool. There’s a package configuration tool that gives you a view of all the pins coming out of the MCU Package, and you can turn pins on/off, etc. depending on your needs. If you’re prototyping for a specific application, and plan to build your own PCB down the line, this is a really handy feature. I mean really handy! I’m in the midst of a PCB design right now with another MCU module that doesn’t have such a tool, and we’re going through a lot trying to figure out what needs to be brought out to where, what needs to be tied low, tied high, etc. so as not to cause a fault. Nice to be able to just turn a pin off and forget about it!
The IDE also has some other nice features allowing you to see what packages are included, etc. as well as some nice configuration features.
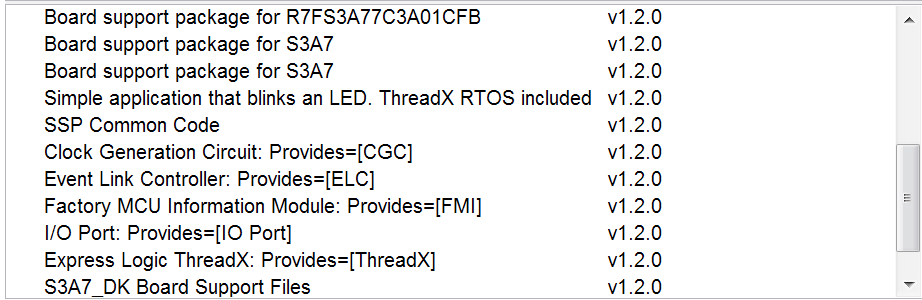
As you may have noticed in that it’s running the ThreadX RTOS so you get multi-threaded execution with little difficulty or overhead – well, other than the standard stuff when you’re writing multi-threaded applications.
One of the other things I noticed, and only because I was doing it for so long with the Apache MyNewt Project, was the inclusion of the board support packages – bsp.h, bsp.c, etc. – that it looks like one could use to have a good start at making one of these boards run MyNewt OS. If you’re into that sort of thing.
Adding the board to my WiFi and configuring it was also made simple by having the Touchscreen onboard.
It may be a bit hard to read, but it’s a simple interface to configure the onboard WiFi to connect to my SSID. via a n onboard web server:
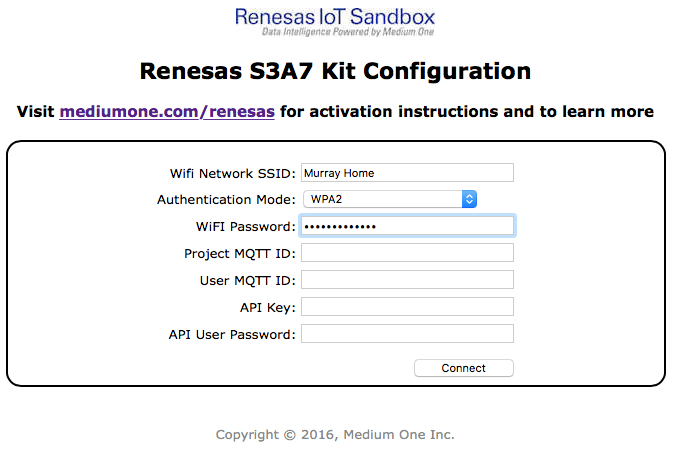
And away I go!
Conclusion
There’s much more to go here, and I’ll get to the actual writing and deployment of code on this board shortly. Given that it comes with all these cool sensors, and since I have this nice time-series database handler, I’ll be doing something to collect a bunch of environmental data and stream it back to my server. Again, first step will be to redirect the demo output to my own time-series database, then write an application that does it directly.